


Click on the shopping list photo and print from your browser.

Enlarge and watch it in high definition for even more detail!

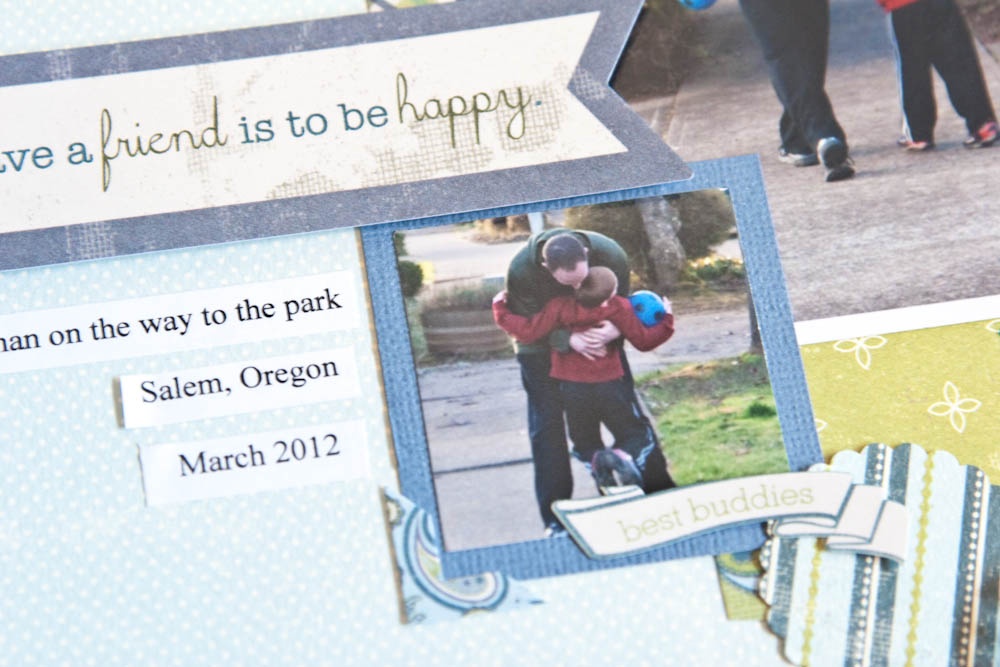
2. Cut ivory strip about 3"x4" and tuck under photo.

3. Add border sticker. Glue photo and add another border sticker.
4. Punch photo with square punch. Glue onto cardstock to mat square photo.

5. Cut Smash tape and add to page.
6. Cut a ticket stick in half and add it to the page. Add another sticker over the raw edge.
7. Add another border sticker. Cut an 3/4 inch of stripes from paper. Cut and glue to page above and below photo.

8. Glue small photo down.
9. Punch 3 scallops from one piece of paper. Punch 3 circles from another piece of paper. Glue the scallops and use foam squares for the circles.
10. Make 3 doily punches by punching first with doily punch from cardstock. Then, punch them out with a circle punch. Use foam squares to 2 of them add them to page. Glue 1 down to the page.
11. Cut 3 flowers out of the doily. Glue them over top of the showing foam squares.

12. Cut and add ribbon.
13. Use a paper piercer with foam mat and add 3 large brads and 6 small silver ones.
14. Put foam squares behind title sticker and add any other stickers you would like to the page.
15. Add journaling and you're done!
Click here and subscribe to the new Craft Warehouse YouTube channel. I will be adding more videos to it often!
Create Well: Layering can be quick and easy using punches!


